Editing Programs/Academic Items
Overview
When editing programs, the field access procedure is the same, but the structure and the available fields to edit will be organized differently. Because the structure is more intricate than the Narrative, it is recommended that you preview the degree before editing it so you can see the bigger picture of the specific degree (The Preview button is located under the Publish tab, see Preview Edits Made). The program page will consist of multiple templates while the narrative consists of only one template.
A program structure consists of either a Degree, Certificate or Minor item, that hold Degree Requirement folders with Requirement Lists as subitems of these folders. The Requirement Lists contain the course tables of the program. The Degree and all of the subitems display on one page on the live catalog. Each of these items need to be edited individually.
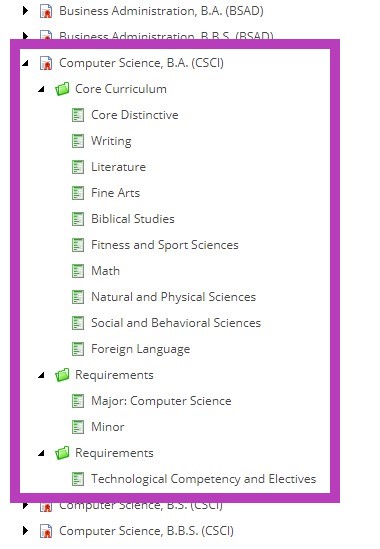
Here is an example program structure as seen in the content tree within the catalog system:
As with the Narrative item editing, there will be a Title Textbox for each of these items (see Editing the Title Textbox) and two content sections that can be accessed by a Rich Text Editor. One will represent top content for the item, and the other will represent bottom content for the item. Top and bottom content act like a sandwich for the items (subitems) located within. Bottom content of a degree item will appear after the Degree Requirement Folders. While Bottom Content of Degree Requirement Folders will appear after all requirement lists located within that folder (see Bottom Content/Requirements Notes). Each one of these can be edited using a Rich Text Editor (see Editing Content in the Rich Text Editor).
In addition to these fields, there is also a textbox for totaling credits. These fields only require numbers to be entered and will automatically bring in display text. Credit totals can be added to each item type in the program and act in a similar way to bottom content.
Within the Requirement List item, there will be an additional field for editing the courses that display within the table. This is the Course Selector (see Editing Course Tables).
NOTE: Degree Requirement Folders and Requirement Lists can only be located in a Degree, Certificate, Minor, or Narrative with Course Table template.
Always “Accept” your changes with the Accept button on the lower right hand corner of the rich text editor.
Save your changes with the Save button in the upper left hand corner of your tool ribbon. If you navigate away from the item you have been editing, the system will alert you to save your work.
Note that this will not show on the live site until it is formally approved and published by an admin.
The item being edited is available for editing until submitted through workflow.