At any time while within the catalog system, you can return to this dashboard by clicking the table button in the upper left hand corner of the window:
This dashboard is used to navigate to specific areas within the system as well as adjust settings and views.
Buttons on the Launchpad
Content Editor:
This button navigates directly to the Content Editor minus the Desktop taskbar at the bottom of the screen.
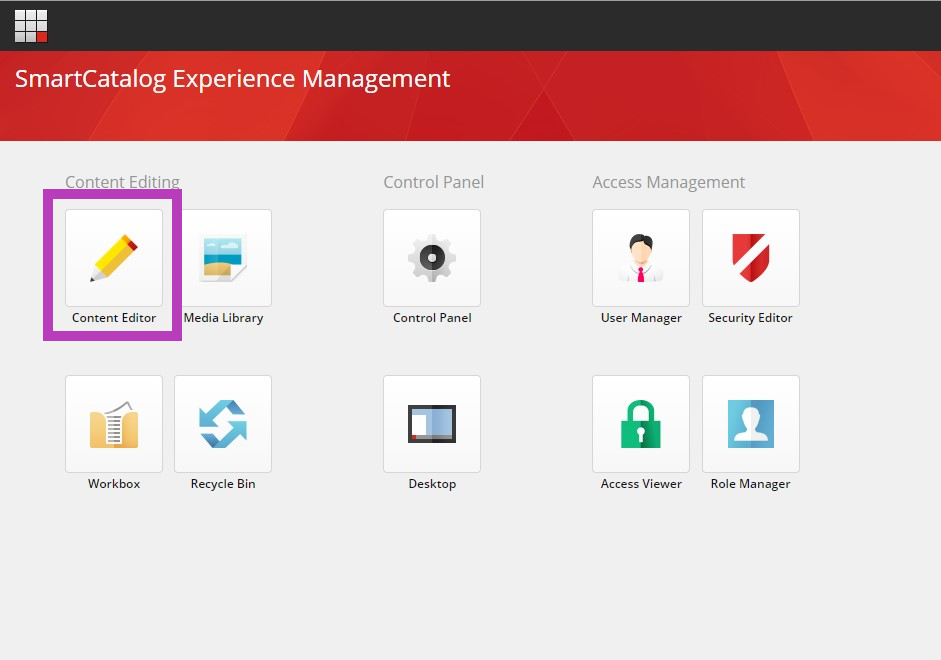
Once clicked, this button opens into the Content Editor, the main platform for selecting and editing catalog items.
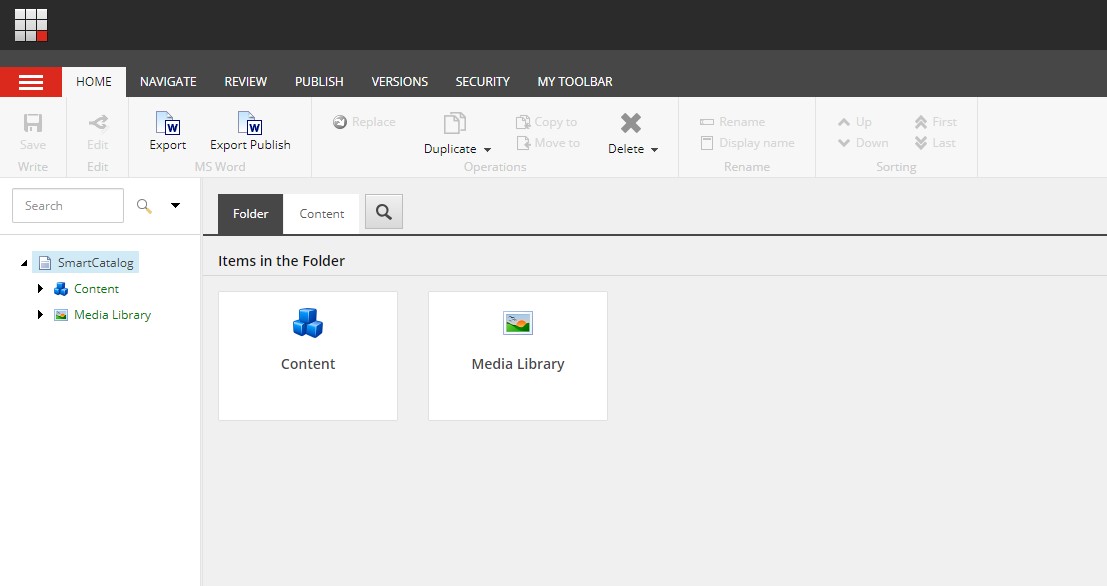
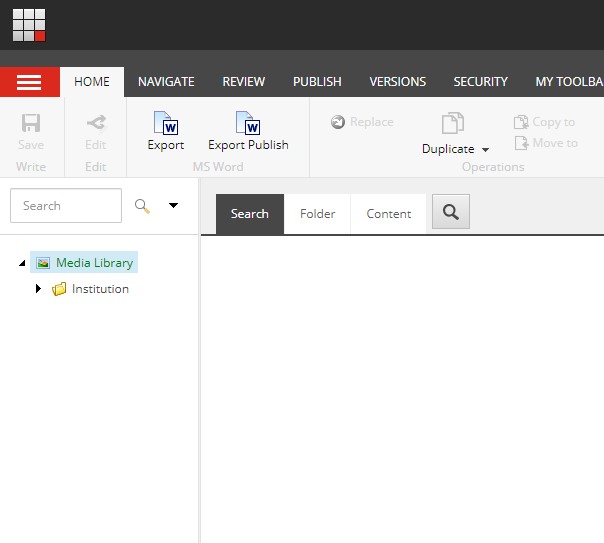
Media Library:
This button navigates directly to the Media Library where all media used throughout the catalog is uploaded and managed.
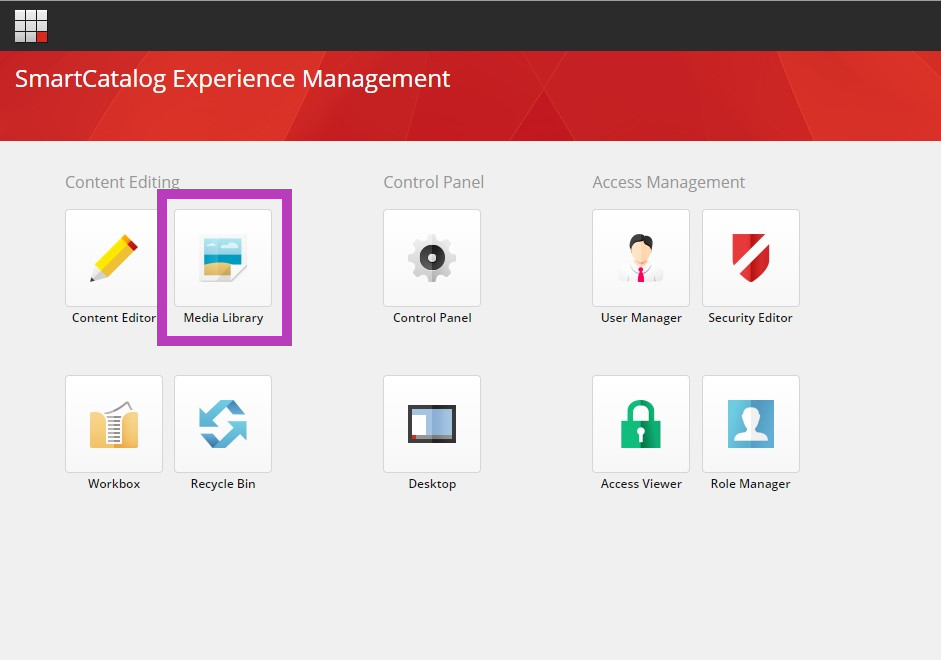
Catalog Administrators have access to upload documents and images to be linked to or displayed throughout the catalog.
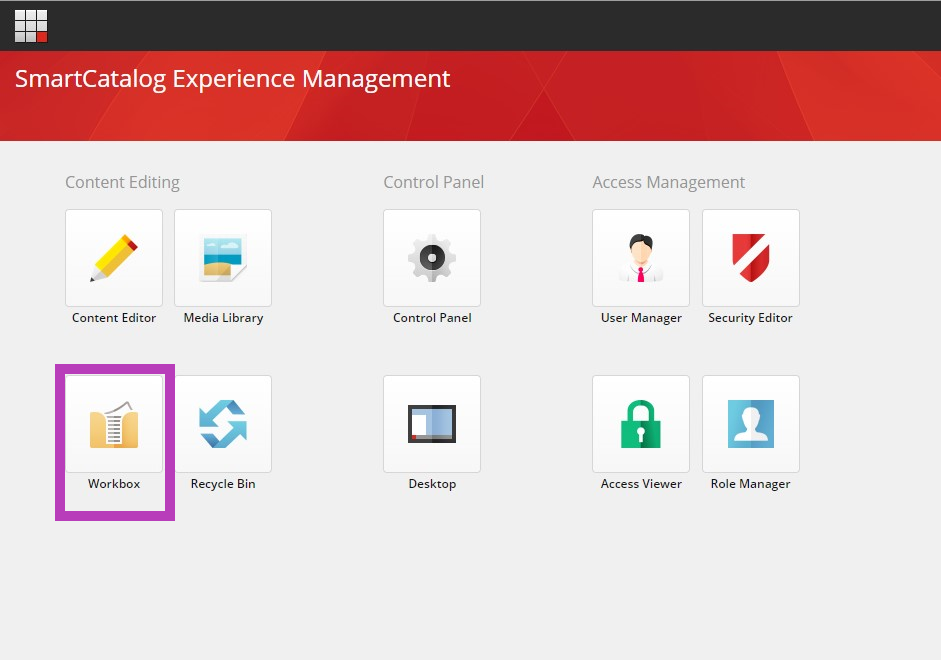
Workbox:
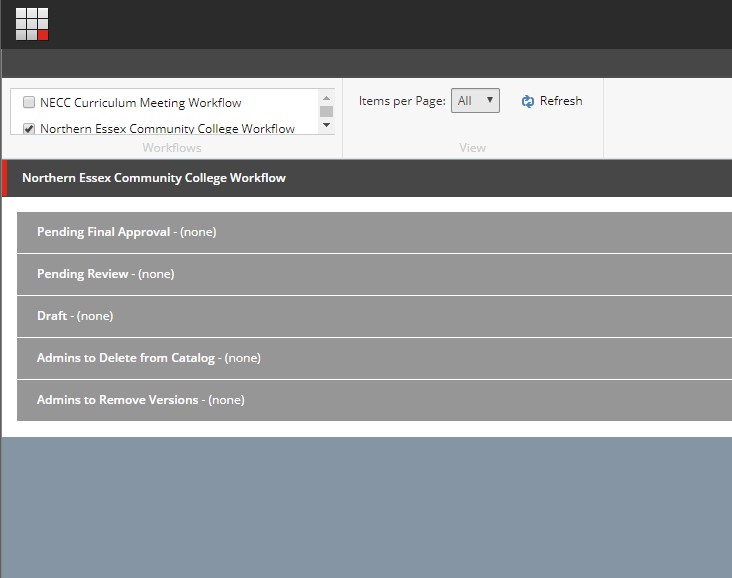
This button will navigate directly to the Catalog Workbox:
This is where the workflow is displayed and the items within the workflow states can be accessed to be promoted, demoted, reviewed, approved or edited.
Recycle Bin:
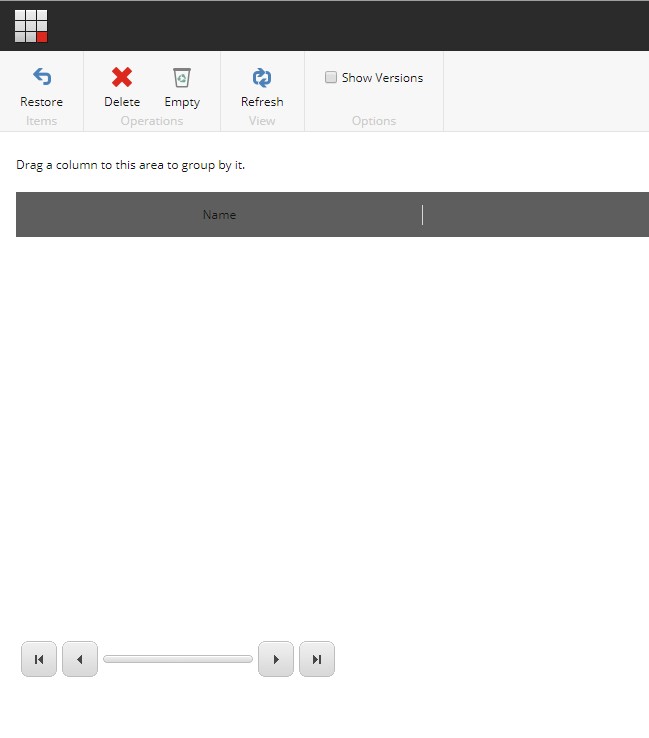
This button opens the Recycle Bin:
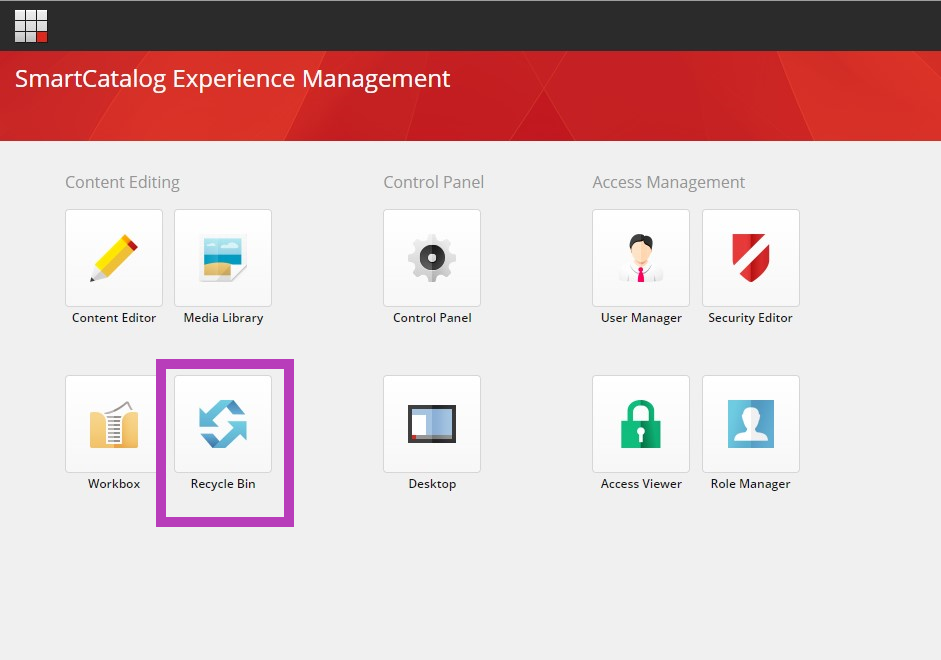
This is where all deleted items and removed versions from the catalog and the Curriculum Management system reside. Catalog items can be restored from this bin back to the catalog they were deleted/removed from.
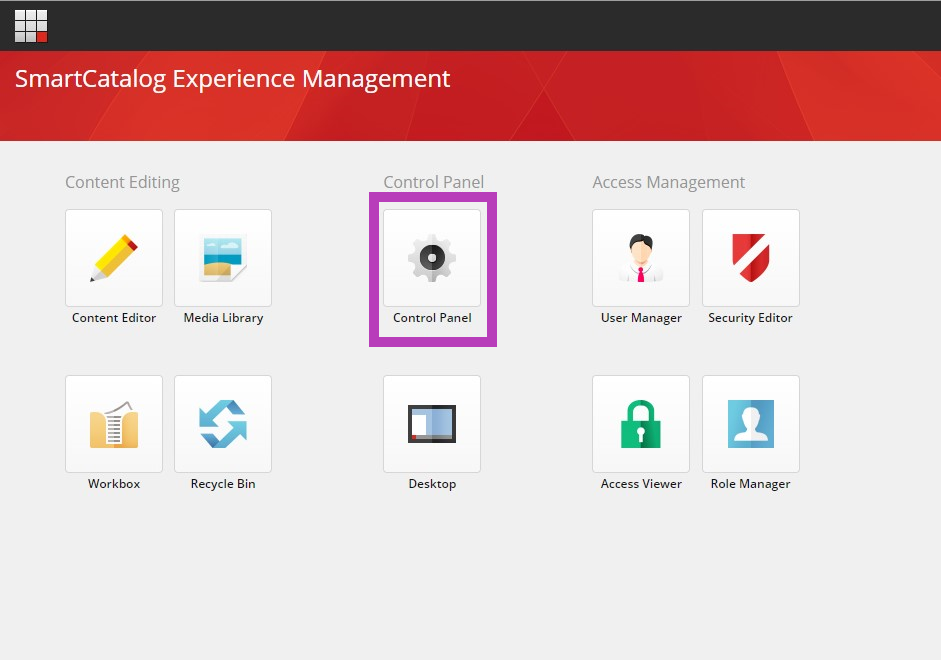
Control Panel:
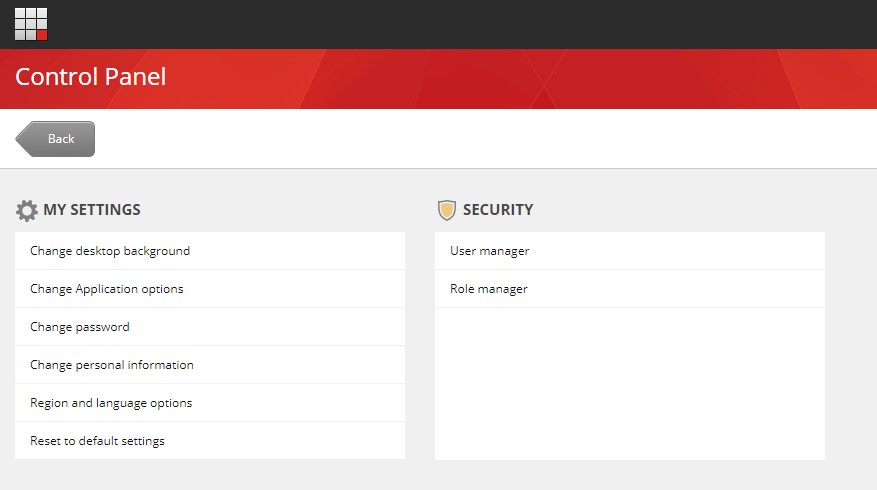
This button opens the Control Panel where personal settings can be managed and passwords can be changed by general users.
Catalog Administrators will have access to the Security options within this panel as well, general users have access to "My Settings":
Passwords must be at least 8 characters and include at least 1 special character.
Desktop:
This button will launch the Desktop Interface of the catalog system.
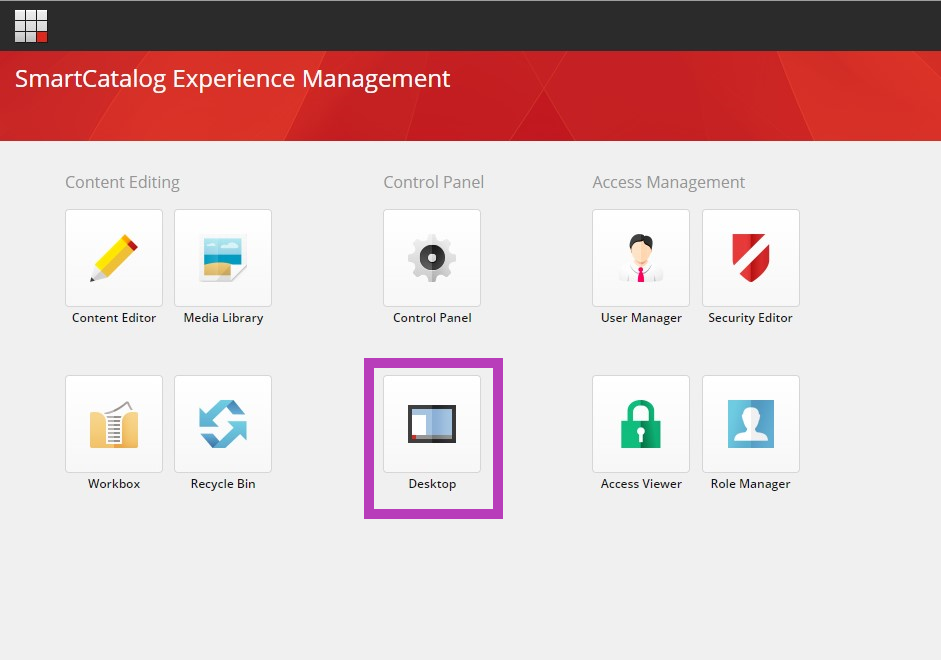
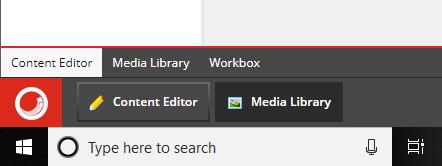
This is the interface that allows a taskbar at the bottom of the window and a start button that allows navigation throughout the system similarly to this dashboard.
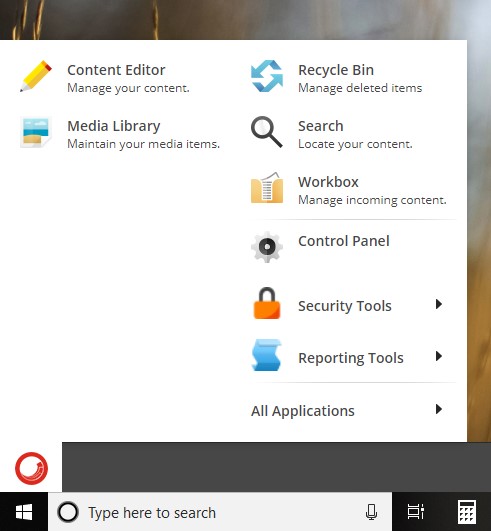
Using this interface allows you to have multiple windows open simultaneously, for example, you can have the Media Library open as well as a Workbox window open while working in the Content Editor. Toggling back and forth between these windows does not refresh the window each time and enables you to keep your place while working if needed.
Administrator Access Only Buttons
User Manager:
This button opens the User Manager:
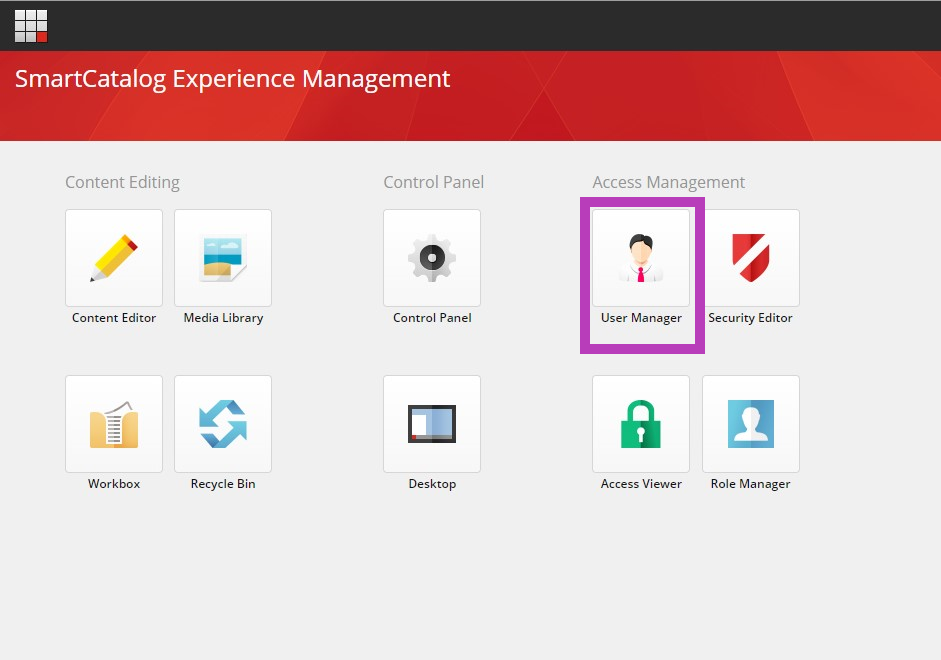
The User Manager is where user profiles are managed and maintained:

Role Manager:
This button opens the Role Manager:
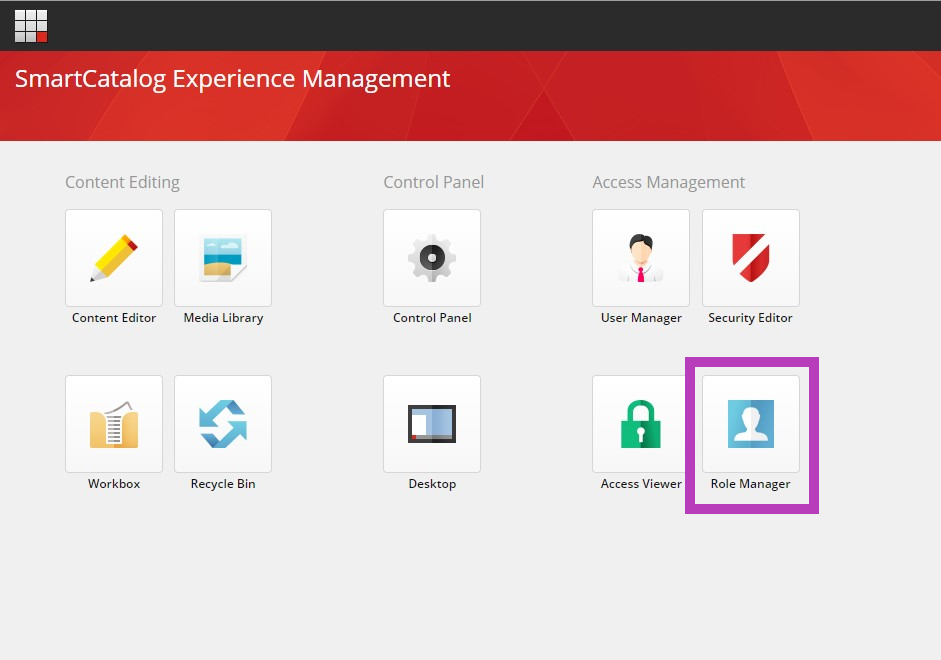
The Role Manager is where the roles/permissions are created, linked and maintained.
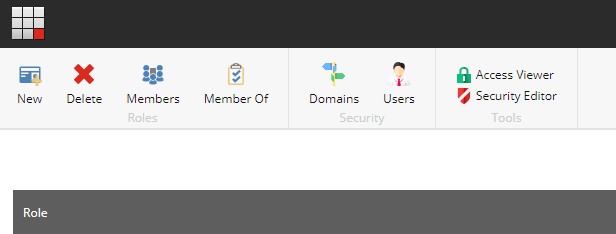
Security Editor and Access Viewer:
Both the Security Editor and Access Viewer buttons will launch these security windows for the catalog administrator. It is very important to understand the function of each of these features prior to using them.
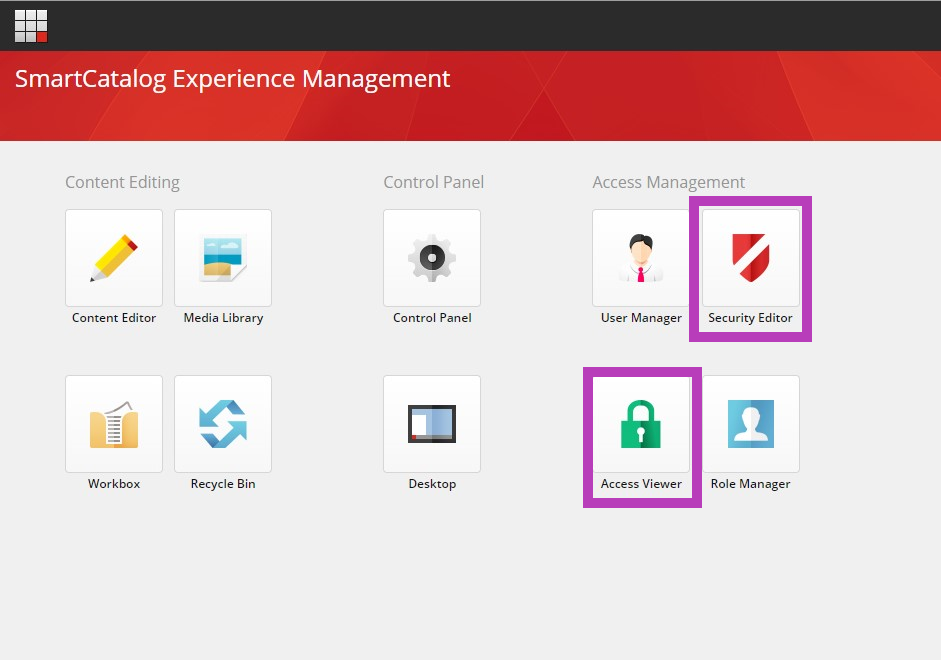
Security Editor:
The Security Editor is where securities are assigned to specific roles created within the Role Manager.
There is no other reason to open the Security Editor unless you are checking if a specific role has the right securities assigned or are assigning securities to a new role just created.
The Security Editor is not used to assign access to catalog/curriculum items to user profiles. Assigning permissions is done through attached specific roles from the Role Manager to user profiles as needed.
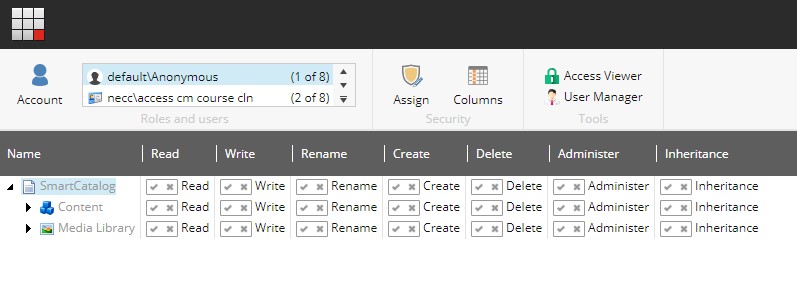
Access Viewer:
The Access Viewer is simply a viewer that will give you a general idea of a roles security access to items within the catalog. Nothing can be edited or changed within the Access Viewer, it simply shows what can be accessed with a given role.
