Adding Images
Only Administrators are able to upload images, PDFs, or Word documents into the media library (refer to the Admin User Guide, Media Library). Basic Editors are able to add images that have been uploaded into the Media Library by Administrators.
- Click the Content Editor and select the page you wish the image to be displayed upon. Open the Rich Text Editor for this page by clicking “Show Editor”.
- On the upper right hand side of your ribbon within the editor click on the “Insert Sitecore Media” button.

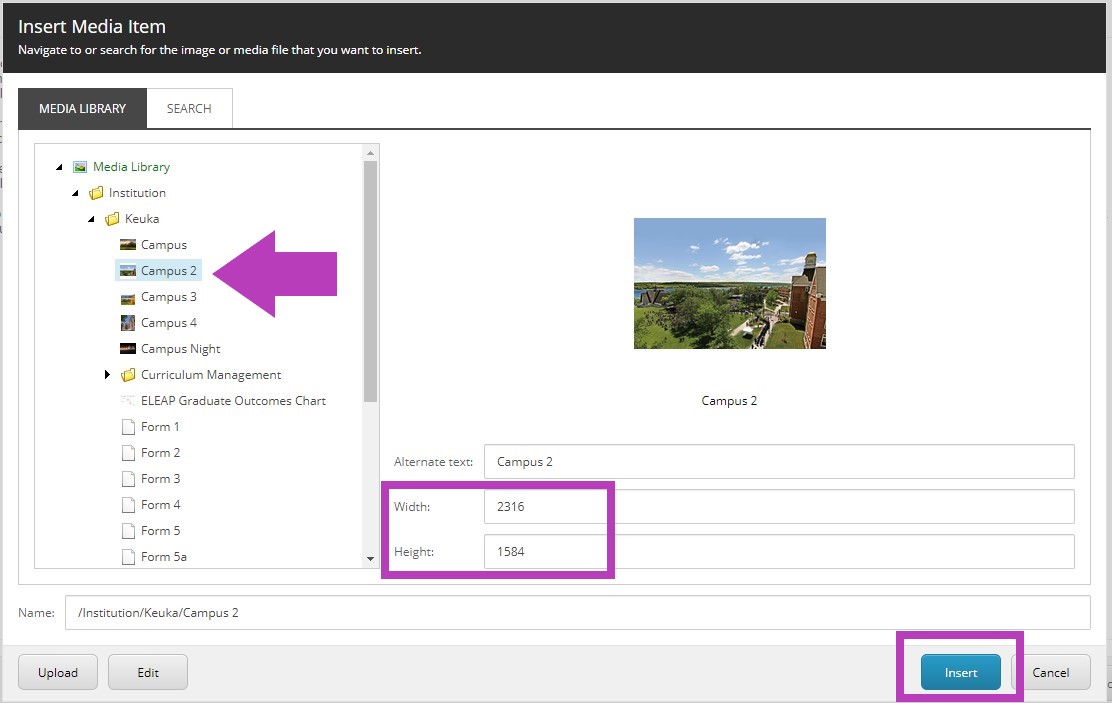
- Once the window is open, drill down into the content tree on the left hand side and select the media you wish to display.
- You may adjust the width and height once you have selected the image from the left hand tree or just click “Insert” to place image as sized.
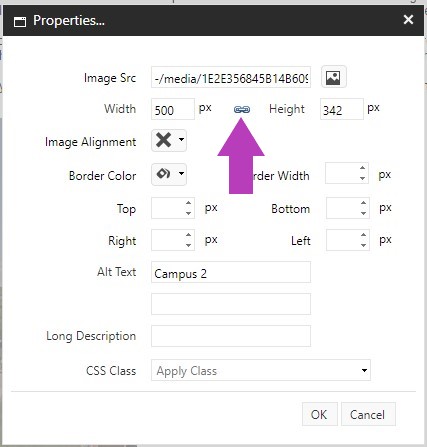
- Once the media is inserted into the editor, you may right click and select Properties/Image Map Editor to alter the appearance of the item. If you wish to change the size of the item in the Properties, click the "broken link" image next to width and height. The image should change to a connected link. This will keep the images proportions consistent. If you do not want the image to keep its original proportions, do not click the "broken link".
- When you are done with your edits, click “Accept”, save your work. Once this page/item has been approved and published, the new image will display on the live catalog site.
Always “Accept” your changes with the Accept button on the lower right hand corner of the rich text editor. And Save your changes with the Save button in the upper left hand corner of your tool ribbon. If you navigate away from the item you have been editing, the system will alert you to save your work.
Note that this will not show on the live site until it is formally approved and published by an admin.
The item being edited is available for editing until submitted through workflow.