Styling Tables
To build a new table within the editor, select the size of the table needed from the table button within the tool ribbon of the rich text editor:

Any content placed within a table cell will automatically acquire the table style and there is no need for additional styling from the left hand dropdown style menu.
To adjust the structure of the table by adding/deleting new rows and columns, and merging/splitting cells, right click within the table to gain access to more table option buttons.
To change the formatting within the tables, you will want to access the Cell Properties window. From here you can update Borders, coloring, padding and content alignment.
Accessing the Cell Properties window:
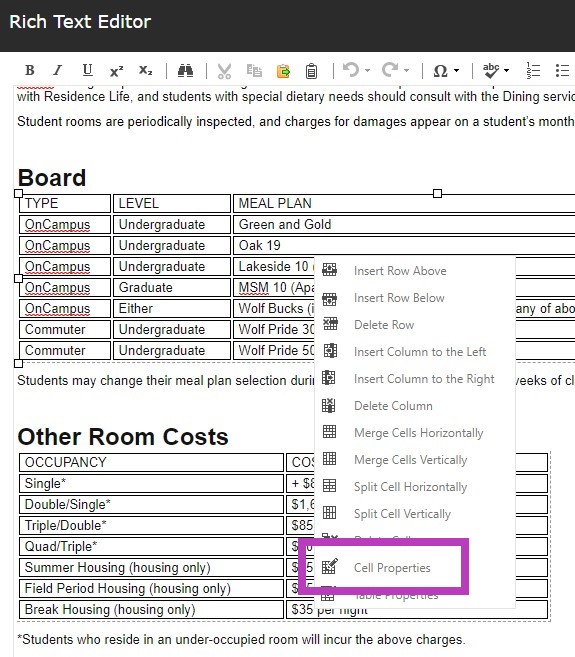
When in the rich text editor of a table, right click within any of the cells and select Cell Properties:
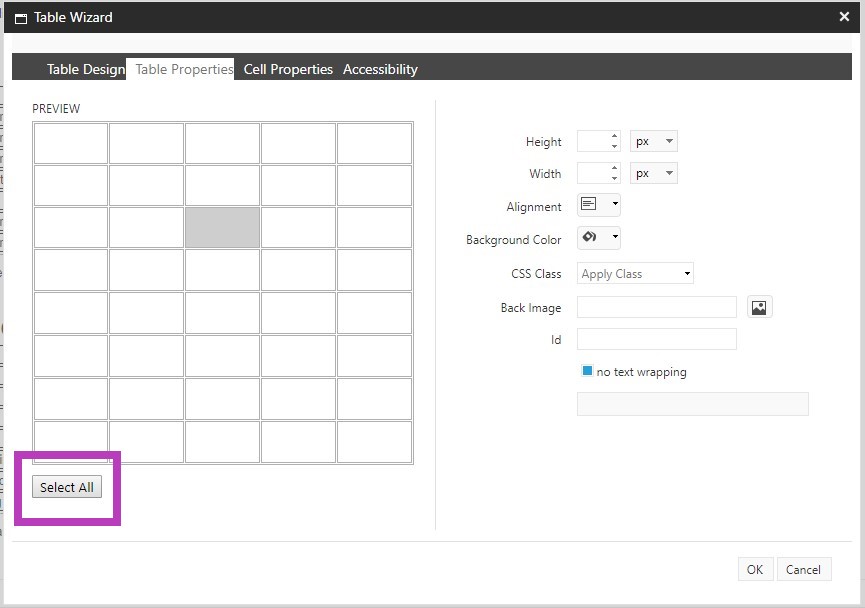
To select specific cells, or all cells for styling, use the scroll bar on the left hand side window and either select specific cells to style or click "Select All" at the bottom: (Hold Ctrl to select multiple cells at once)
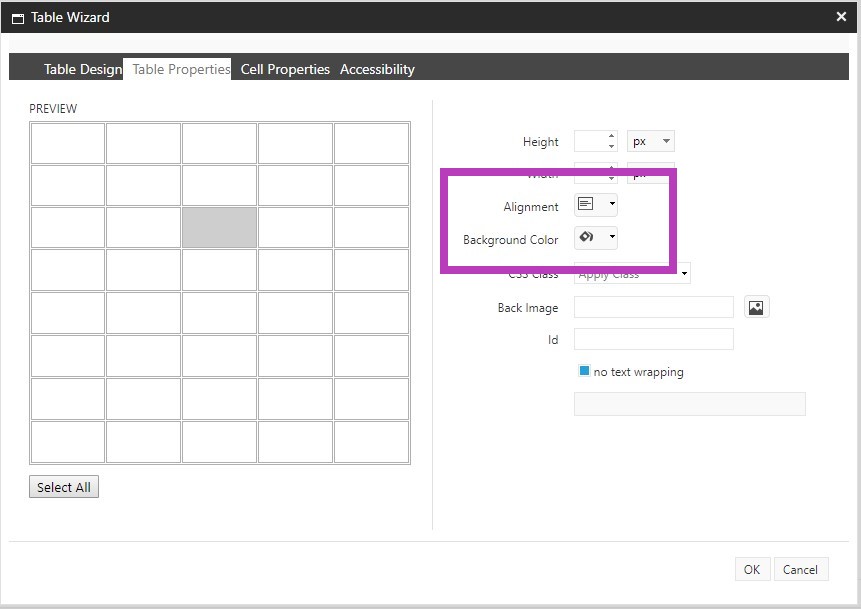
Once the Table Wizard is open and you have the cells selected that will be affected by the styling you wish to apply, you have immediate access to Cell Alignment and Background Color options:
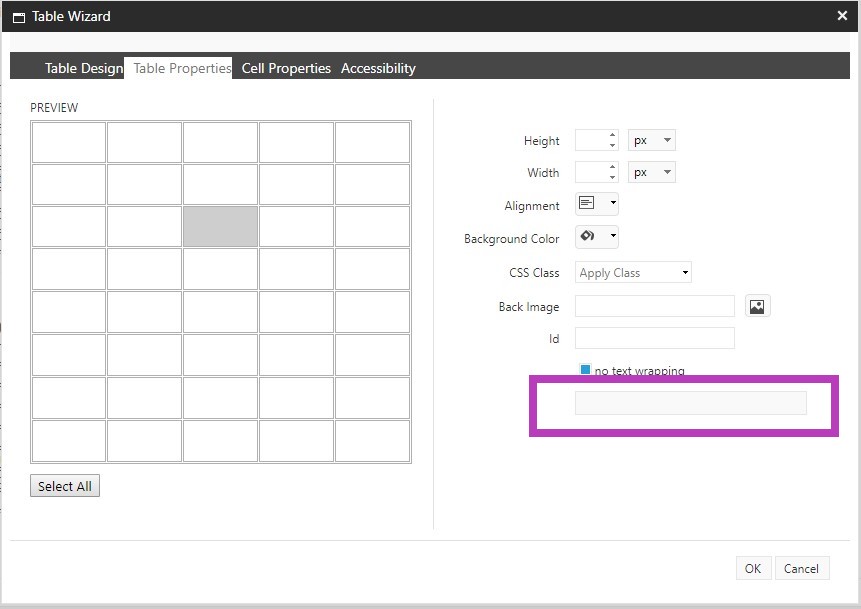
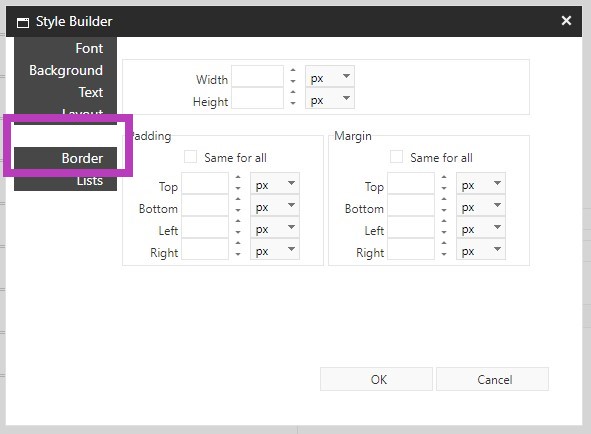
You also have access to click the Style Builder to add Borders or Padding:
Always “Accept” your changes with the Accept button on the lower right hand corner of the rich text editor. And Save your changes with the Save button in the upper left hand corner of your tool ribbon. If you navigate away from the item you have been editing, the system will alert you to save your work.
Note that this will not show on the live site until it is formally approved and published by an admin.
The item being edited is available for editing until submitted through workflow.