Uploading Media
Accepted File Types:
- Images (.jpeg & .png)
- PDFs
- Word (.doc & .docx)
Only Administrators are able to upload images, PDFs, or Word documents into the media library (refer to the Admin User Guide, Media Library). Basic Editors are able to add images to catalog Content fields that have been uploaded into the Media Library by Administrators.
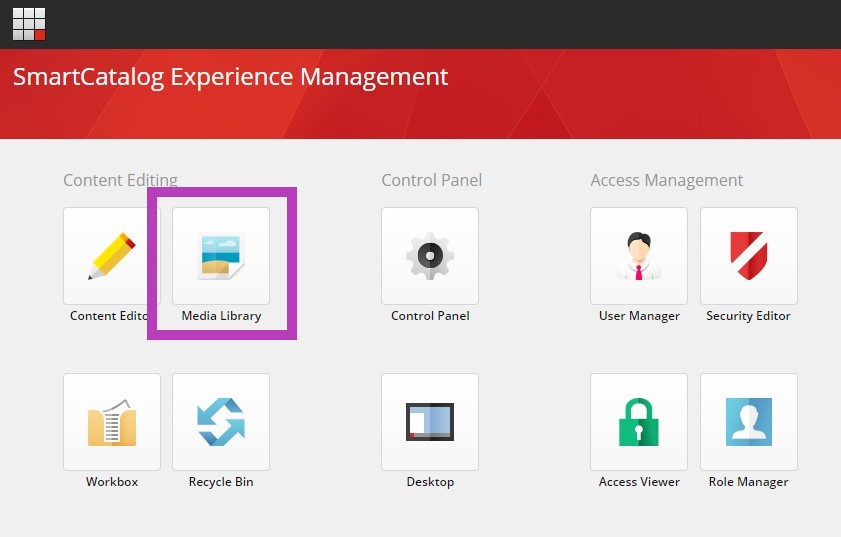
- Access to the Media Library is located in the lower left hand of the screen, on the Launchpad, or from the start menu:
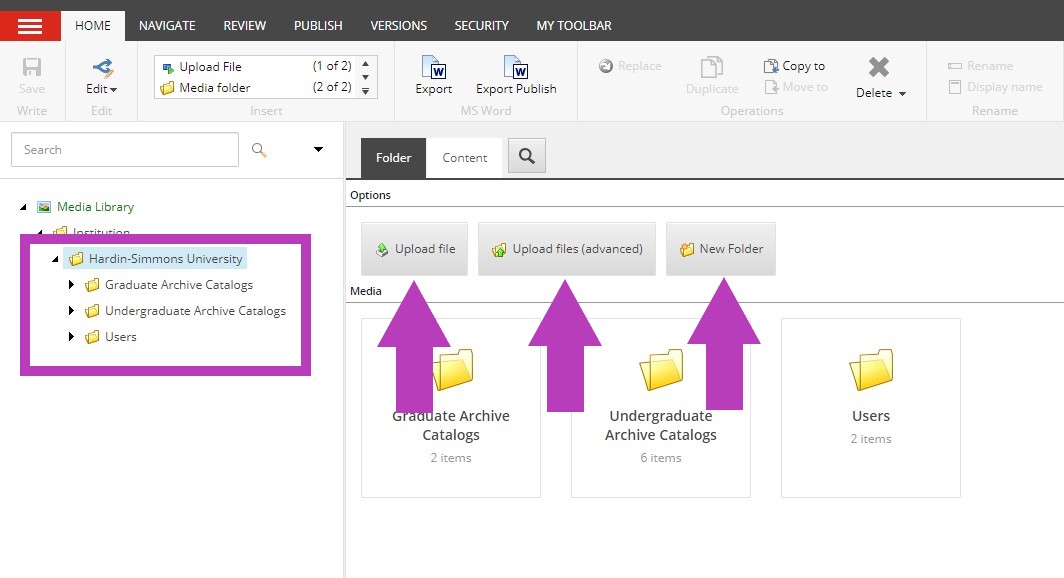
- Once the Media Library is displayed on your screen, drill down in the folders on the left in the Media Library’s content tree. From selecting the school’s name folder or any other sorting folders within, you may add a “New Folder” to organize new media, or upload it directly into the folder selected by clicking “Upload file” or "Upload files (advanced)" to upload multiple files.
- Once you click an upload button, a window is launched allowing you access to your computer’s files. Find and select the image/document you wish to upload. Double click or select “Open” when you have selected the image/document that you wish to upload within your files.
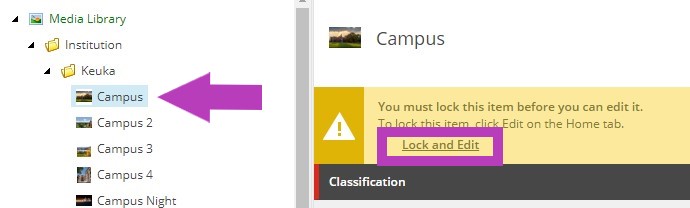
- The media items you have selected will upload once the Upload button is pushed in the lower right corner of the Upload window. Images that are uploaded will have an empty "Alt" field. This is regarding the Alt Text of the image. To populate this field, select the uploaded image once it is visible in the content tree and click “Lock and Edit”. Enter text into the field and save any changes made.
NOTE: Text has to be added to the Alt field. Text should be a description of the image. For example, name of the location they are at, names of the people in the image, name of the activity they are doing, etc. (ex. Sue, Mary and John Doe shaking hands at faculty board meeting)

- Publish all newly uploaded items within the Media Library. This is for preparing these items to be published among the pages they are selected for throughout the catalog. See Publishing for the procedure to publish. This step must be completed to enable the images/documents uploaded to be visible/accessible once published throughout the catalog.
- Once your media is published in the Media Library, it is ready to be used within the catalog.